It’s the last thing you apply to your car after detailing and helps give you both shine and protection; here’s our step-by-step guide on how to wax a car.
On occasion, people use the terms waxing and polishing interchangeably, but they are very different. Polishing describes using a very fine abrasive to refine the surface finish. Any product with the word ‘polish’ in it will still have an element of cut to it. As a result, polish should be used before any wax when you detail a car, as a polishing product will remove wax. Wax is the last thing you apply to your paint after your car has been washed and detailed; it’s what delivers protection and the glorious shine we all crave. Some are better than others, so be sure to check out our best car wax guide. Without further ado, here’s our step-by-step guide on how to wax a car.
How to apply liquid wax to a car
1. Apply the liquid wax to your polisher or applicator
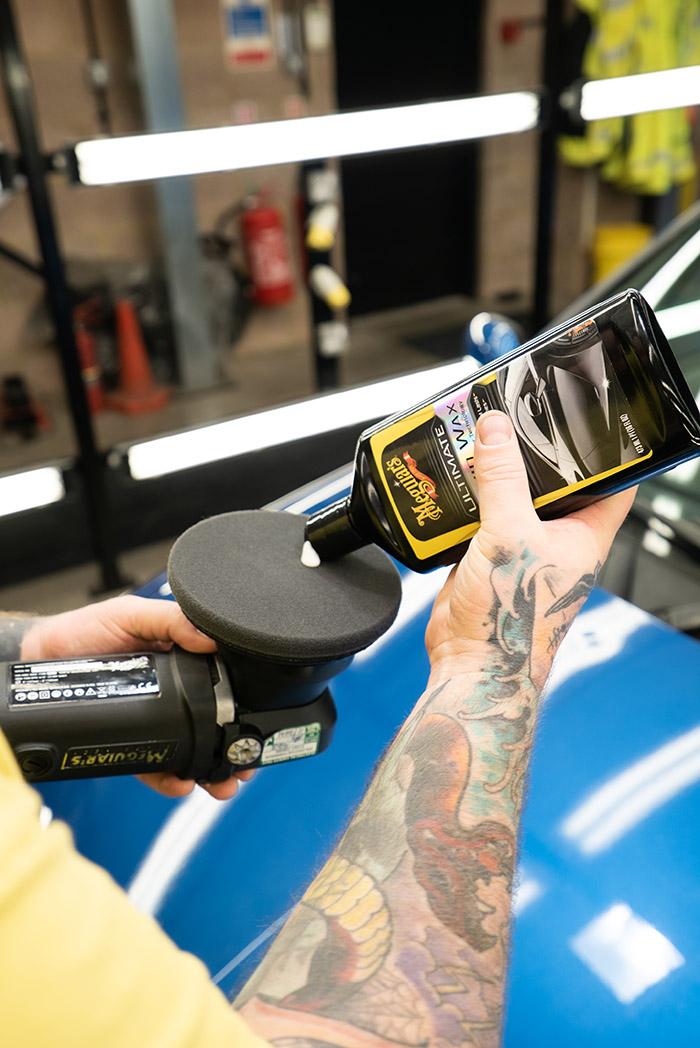
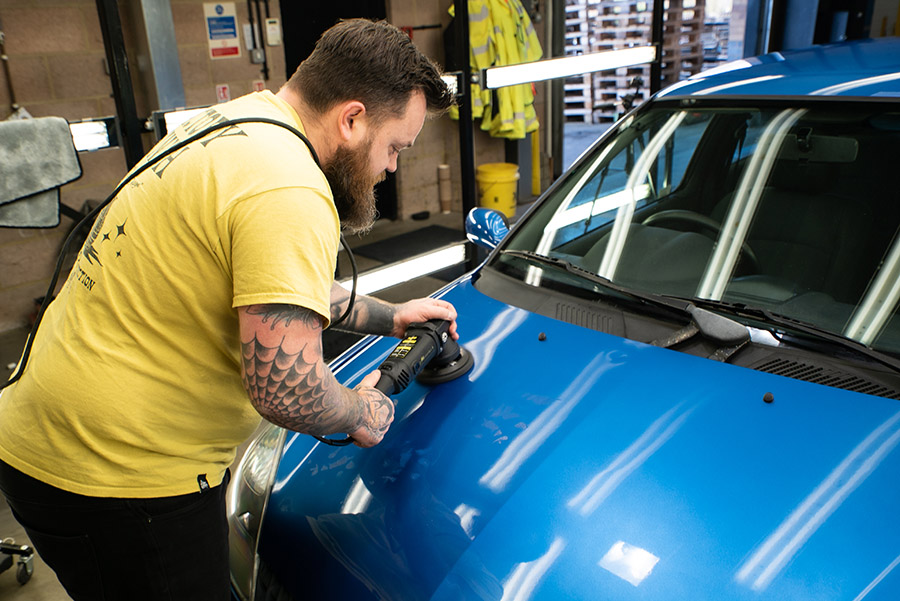
As with paint correction, the DA polisher is being employed for the waxing stage. However, you don’t need to use one, though it will make the job that much easier and will definitely save your arms!
A soft black finishing pad is being used. We aren’t doing any cutting, so the softest pad is all we need to apply wax to a car.
2. Place the polisher onto the section you’re working on
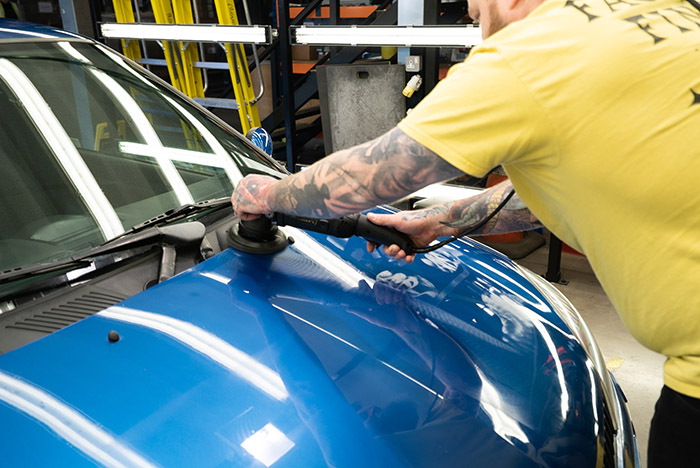
Once you have applied your wax to the pad, splodge it across the panel, and, using a low speed setting, spread it across the surface.
3. Overlap lines without using pressure
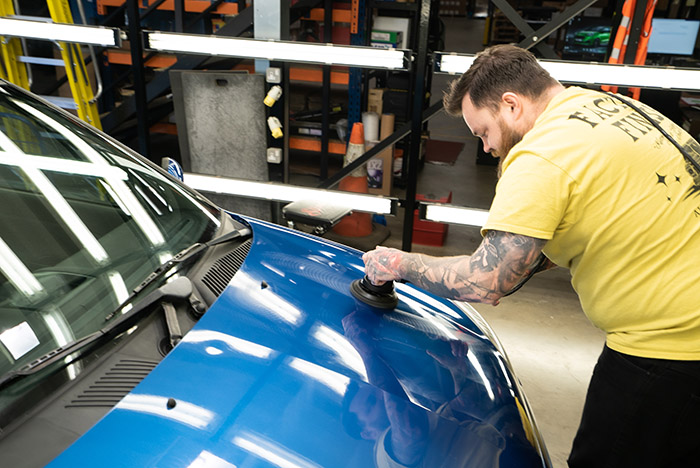
There’s no need to apply any pressure, we’re not doing any correction here; we’re merely spreading the product across the bodywork. Work in overlapping lines, and you’re looking to spread it thinly and evenly across the surface. Once you’re finished, wipe the wax off with a soft microfiber cloth and then give it a buff with a clean cloth.
How to apply paste wax to a car
1. Grab your applicator
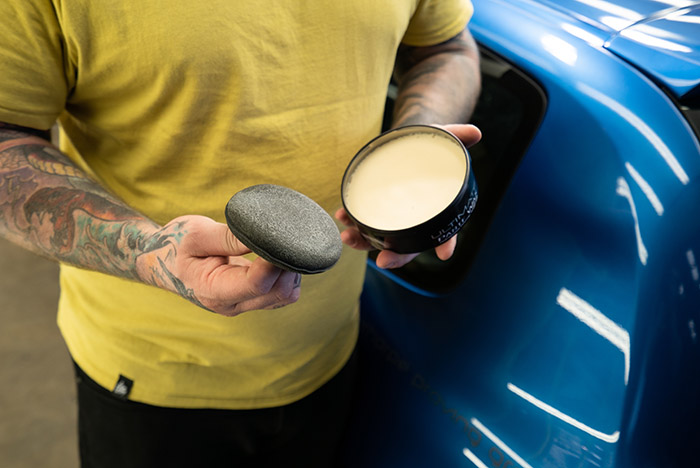
With applying a paste wax, you’re going to be needing a foam applicator pad and a bit of the old elbow grease.
2. Apply paste wax to applicator
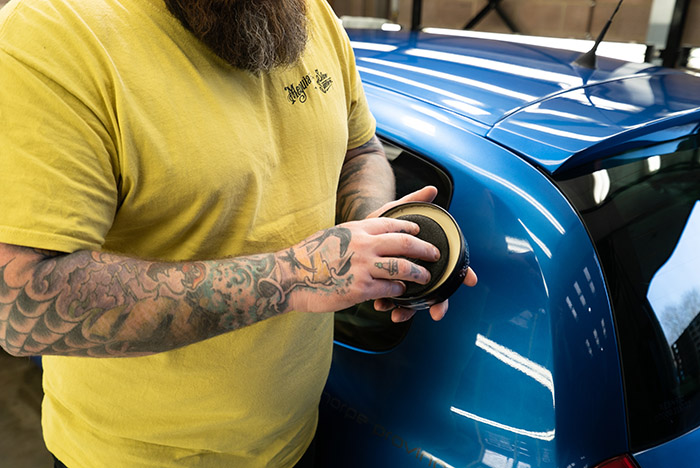
Place the pad into the tub and, with a tiny bit of pressure, give it a couple of twists.
You don’t want to overload your applicator pad, it’ll actually make applying the wax harder, so just a light coating will do – a little goes a long way when it comes to wax.
3. Spread the wax onto the car without pressure
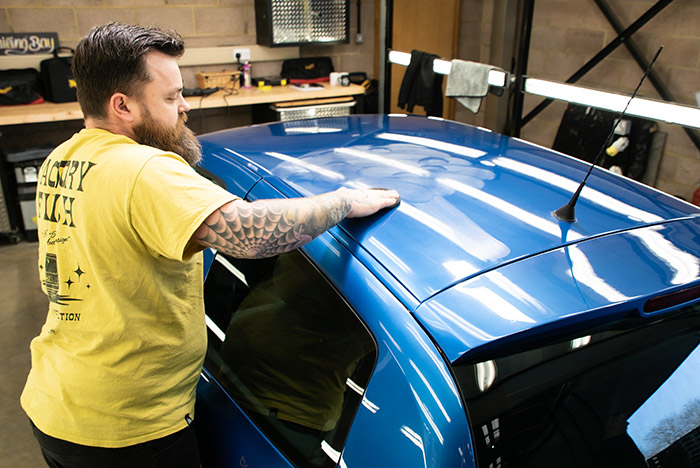
Using almost no pressure at all, begin to spread the wax across the surface of the paint. Whether you work in a circular motion or straight lines doesn’t really matter, but you want your application to overlap so that you don’t miss any spots.
When it comes to waxing, less is definitely more, and you’re looking to apply as thin a layer as possible. This will allow the wax to cure faster, and it will be easier to remove.
4. Allow the wax to cure on the car
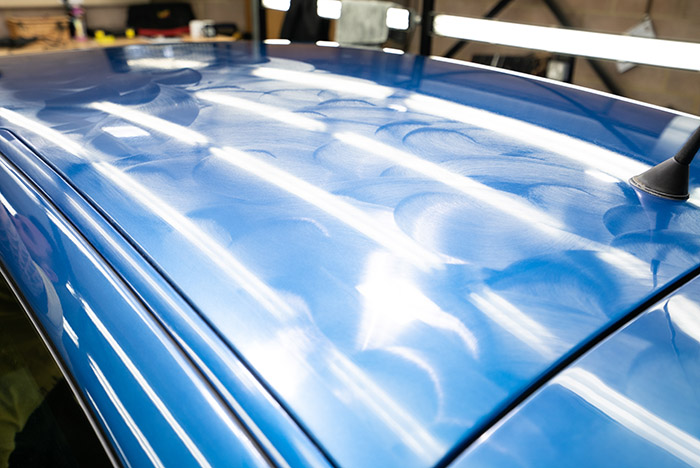
Once you’ve waxed a section, you can move on to the next one while you wait for the wax to cure. Cure times vary from product to product and depend on the temperature (curing times are longer in colder weather), so always check the instructions for a rough guide. One of the most reliable ways to check if the wax is ready to be removed is the swipe test – swipe your finger through a section that you’ve waxed, and if it goes through cleanly and easily with no smearing, it’s good to go.
5. Wipe the wax away
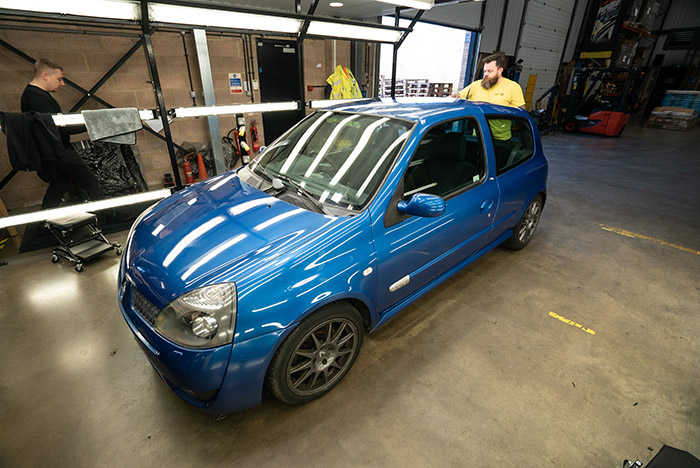
Wipe the wax off with a soft microfiber cloth, turning to a clean section regularly. This will stop you from spreading wax around that your microfiber has collected. You can give the paint a buff with another clean cloth. Your paint should now be gleaming, and your car should be looking seriously shiny.
If you’re looking for more detailing advice, check out our what is car detailing guide.
Relevant Content:
Words: Elizabeth de Latour & Matt Bell.

