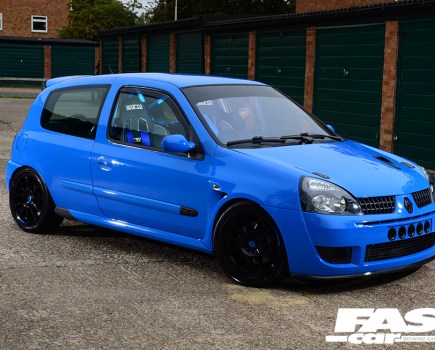
Here’s how to fit an aftermarket steering wheel – useful information if you’re planning on modifying your car’s interior!
Nothing completes your interior, or gives a proper race car feel, quite like an aftermarket steering wheel. Now obviously, we don’t have to tell you that there’s several billion different designs out there; this isn’t an exercise in brand exposure, or a run-down of what’s the best wheel on the market. That you’ll have to decide for yourself.
What we’re concerned with here is exactly how to fit an aftermarket steering wheel in just a matter of minutes. Let’s get into it…
How To Fit An Aftermarket Steering Wheel
Required Equipment
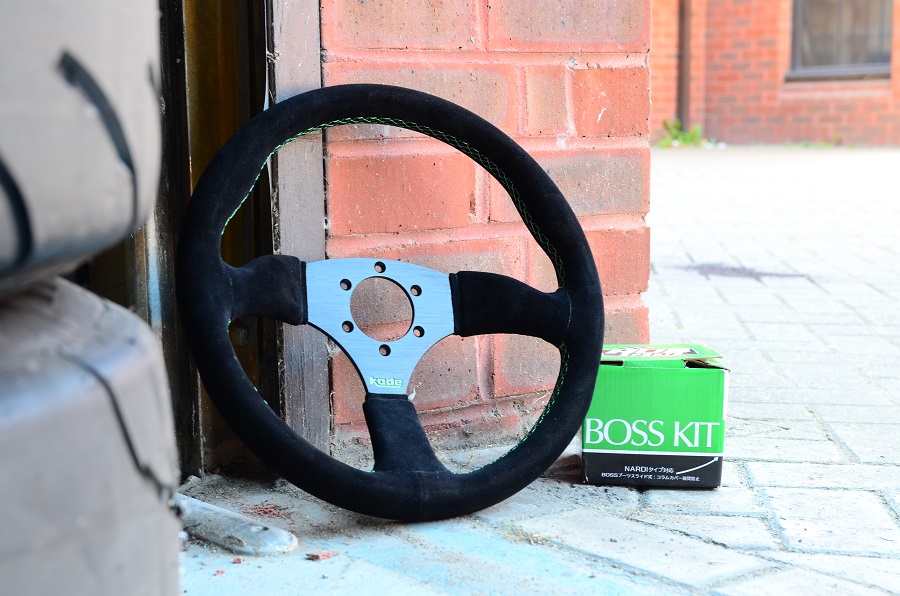
The steering wheel you’ve chosen isn’t all that important aside from the fact that it will need a PCD (yep, steering wheels have these too) that matches the boss kit for your car. Regardless of brand, most steering wheels accept either a 6x74mm boss (commonly associated with Nardi or Personal) or a 6x70mm boss (MOMO or Sparco).
Boss Compatibility
That said, bear in mind that there are some out there (like the awesome wheels from Mountney, for example) that will only fit with their own-brand boss. For the most part, though, commonly available aftermarket bosses will be designed to accept both 70 and 74mm PCD wheels. But, if you have a boss with only 6-threaded holes, you’ll need to double check that your new wheel lines up, or get yourself an adaptor.
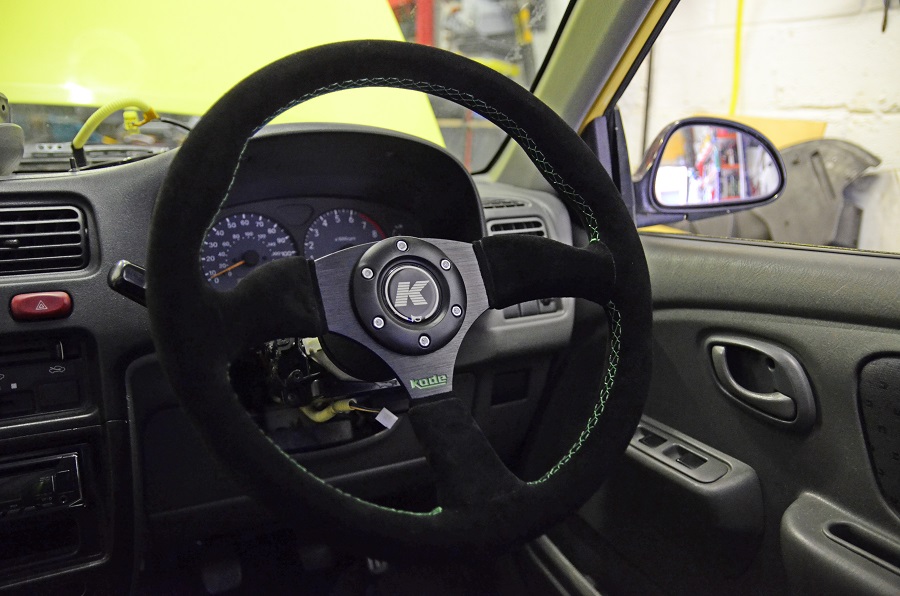
With all that said, the most important thing to remember is that all bosses are vehicle specific, and some are even model specific to cater for standard ABS or HICAS slip rings. In other words, you’ll need to order the right one for your car, stating the make, model and year too. Ideally, you’ll get your boss from the same place as your wheel, but that’s not to say you have to. In our case, we ordered the wheel from Kode Shop and the boss kit on a well-known auction site.
The last thing to consider here is that the vast majority of cars have airbags nowadays and that’s what we’ll be dealing with in this guide. For many old-skool offerings, the cars without airbags, you’ll get to skip the first bit and from then on the process is pretty much the same. In some rare cases (the Mk1 MX-5 Miata springs to mind), you may find you already have a boss that will accept aftermarket wheels fitted from the factory. You might be lucky, so check first.
Special Tools?
A socket set and a screwdriver or two should see you through. It’s very unlikely but you may need a special airbag removal kit, just to make life easier, but that’s pretty rare.
Power Down
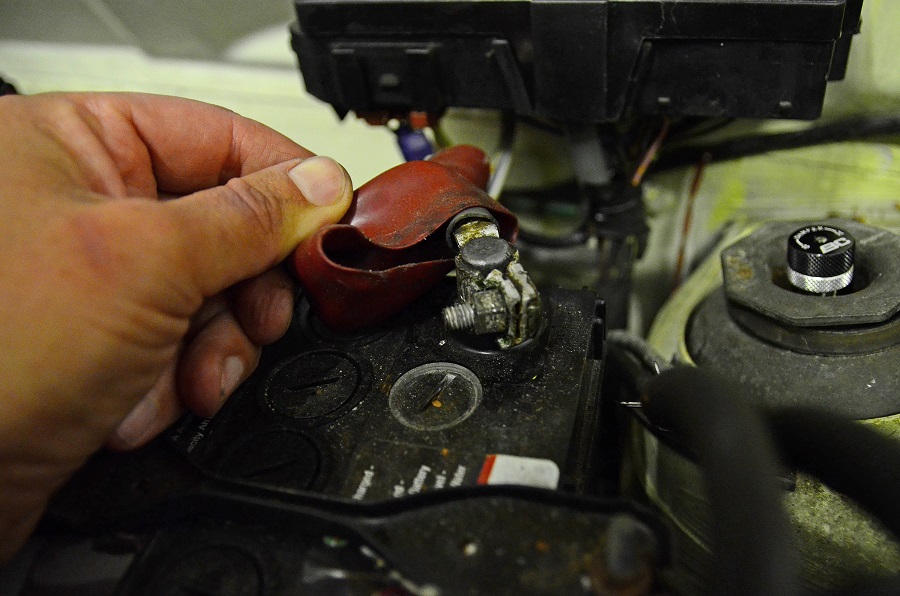
Get that battery disconnected and go and do something else for an hour, ideally overnight. It’s important that you don’t skip this stage with any car that has an airbag as you’ll need to make sure any residual charge in the system has dissipated away. This is because airbags, as anyone who’s had the misfortune of nutting one will tell you, aren’t big solid pillows of fluffiness. They may save your life but that doesn’t mean they won’t break your nose. They’re basically a big, noisy bag of explosives and they need to be respected. You’ll certainly know all about it if you set one off!
I’ll say it again, disconnect the battery and leave the car for as long as possible before you start.
Airbag Removal
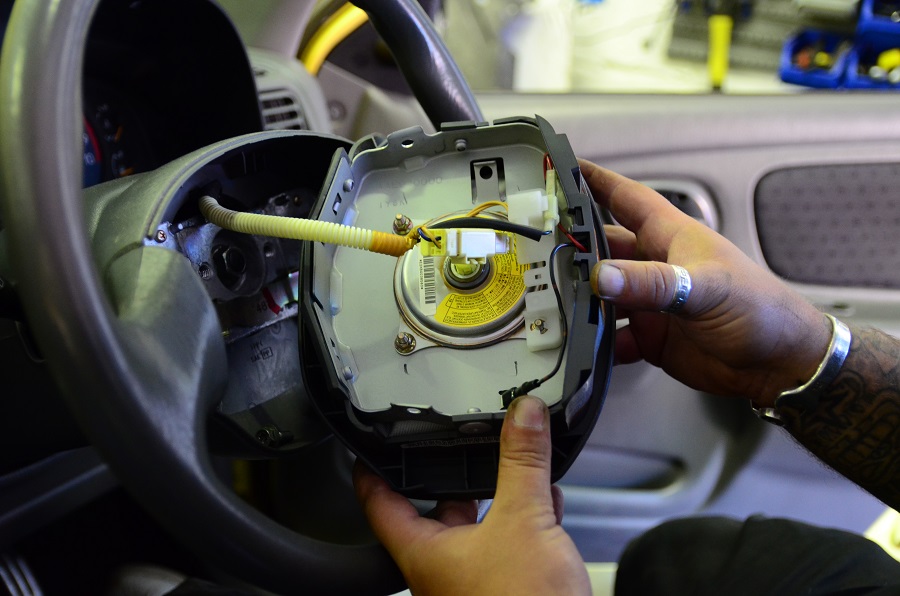
The first job is to remove the airbag from the wheel. Now, even though you’ve got no charge in the electrical system, we’d still air on the side of caution when doing this job. Never yank about on the bag, or blindly stab away with a screwdriver, and most of all – never do it while having your mush right in front of it! It’s rare that they go off at this stage, but it can happen.
Anyway, airbags are usually held to the wheel with a pair of torx, hex or standard screws at the back. Some cars, particularly older VWs, have a screwdriver hole where you need to pop off a clip, so it always makes sense to look this up before you start.
You may need your keys in the ignition to disable the steering lock, so you can turn the wheel and gain access to the screws. Once the airbag is out of the wheel, undo the electrical plug and then take it away to be stored somewhere safe, or disposed of at a proper
recycling center.
Steering Wheel Removal
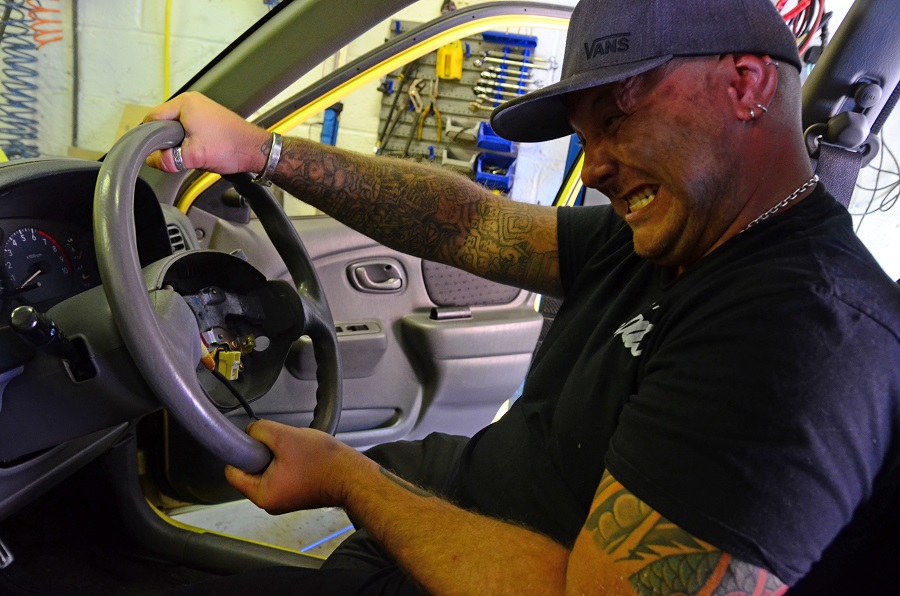
Now you can remove the wheel, but first make sure your road wheels are straight and take the key out. This should stop you putting your new wheel on all wonky (don’t worry, we’ve all done it).
Your standard wheel will be held on with a big nut in the middle, and unsurprisingly it will be bloody tight. You may need a big bar (I prefer a lazy impact wrench) to get this nut off. Don’t forget to hold the wheel to keep it straight while you’re cranking away.
Now you’ve taken the nut off, take a breath, and put it back on a few turns – this is my all-time top tip. The wheel will be on tight, you’ll need to do some serious yanking on the bugger to pull it off. Having the center nut on there is rather useful to stop the wheel coming loose, flying off, and smacking you in the face (yep, we’ve done that too). Once the wheel is loose, remove the nut fully, and then the wheel.
Boss Fitting
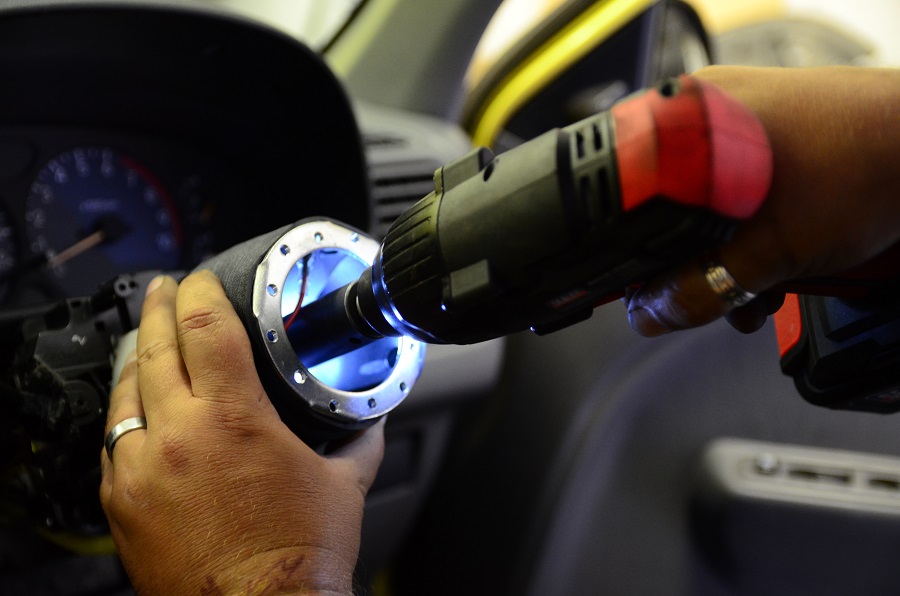
This one is pretty self-explanatory, although there are a couple of pitfalls to look out for. You’ll see that the shaft it goes onto has a load of gear teeth, being vehicle-specific, your boss should simply slide onto these, allowing you to reinstall the center nut. Some bosses are ‘keyed’ so they can only go on one way. Others can go on multiple ways, so make sure you look out to see if the boss has a marking to tell you where the top is.
The other thing to remember is that some aftermarket wheels have different PCDs to others. If you bought your wheel and boss from the same brand, it’ll likely line up first time; if not, and you have a boss like ours with more than six holes designed to accept different PCD wheels, you may have to orientate the boss slightly out of center so the wheel lines up.
If you’re unsure, you can always fit the wheel to the boss with a couple of screws first, just to check that it’s all straight. When you’re happy, and being careful to slide the horn and airbag wires through the boss, you can put it on and bolt it down tight.
Airbag Override
Now before you think about reconnecting the battery and putting the key in the ignition, you need to override the airbag to stop the car triggering the warning light. This is for two reasons: first it’s an MOT failure to have the light on, and second, the light being on disables any other airbags like the ones in the dash or the seats. You’ll want to keep those working.
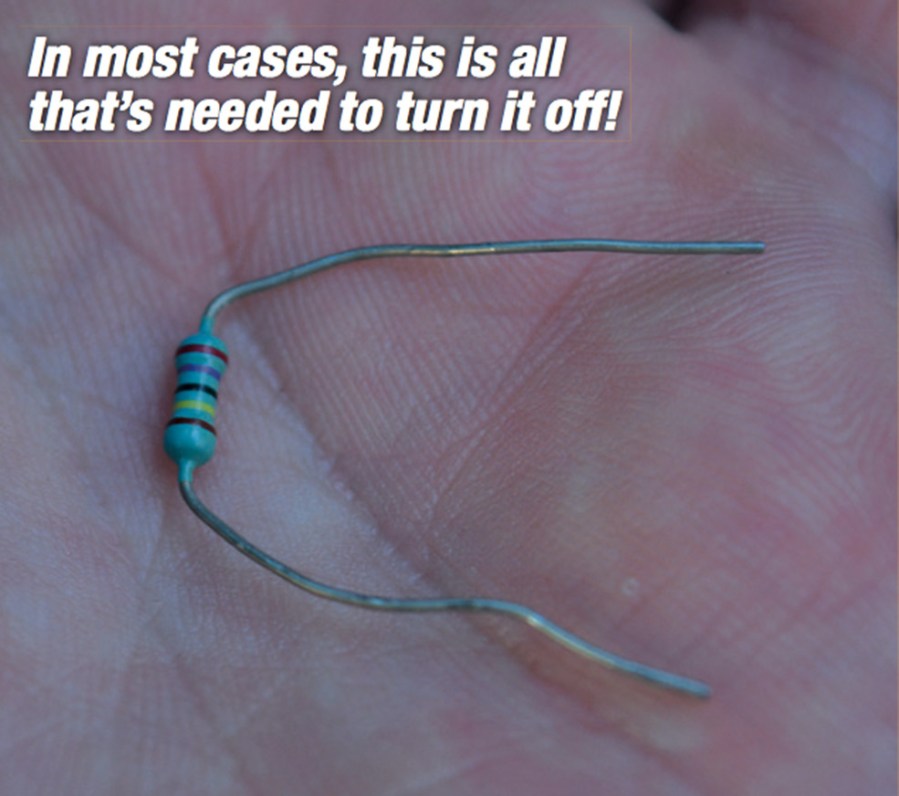
The only way to override the airbag is to trick the car into thinking that it’s still there. This is done with a matching resistor. Some posh boss kits come with plug-in airbag resistors, for others you’ll have to look up the resistance of the airbag and match it with a resistor from an electrical store. There are many forums that will tell you what you need to know. Pop your resistor into the plug and tape
it up. Only then can you reconnect the battery and stick the key in without the dreaded light.
There is one other method that you can use, particularly if you’re building a track project and want to remove all the airbags. On some cars you can whip the bulb out of the dash, but we wouldn’t recommend that for road cars.
For more in-depth instruction, have a read of our dedicated guide to disabling the airbag warning light.
Fitting The New Wheel
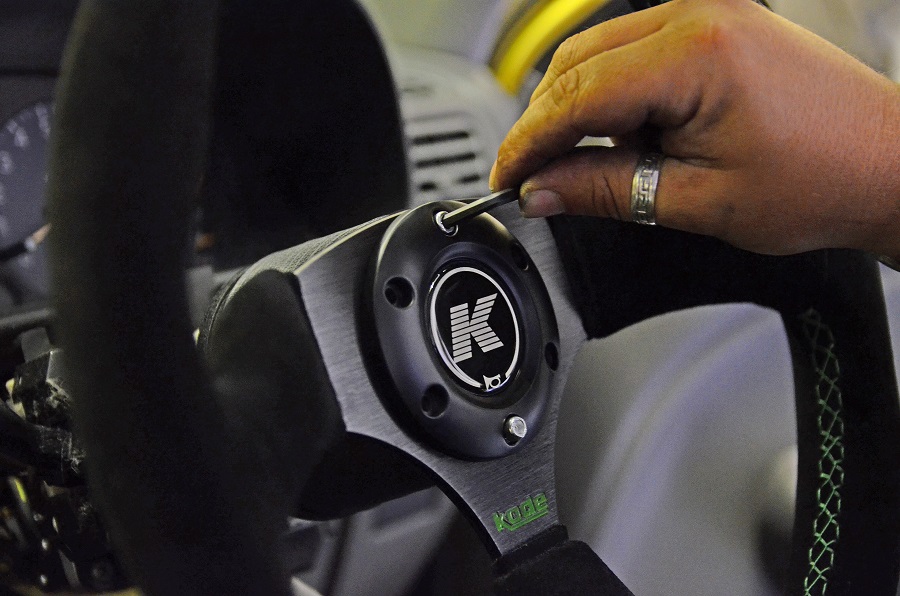
Right, you’ve got your boss on, now you can fit the steering wheel to it with the six little hex screws. Put them on nice and tight, but remember, you don’t need to hang off ‘em – you don’t want to round them off!
While you’re doing that, you’ll need to check how your horn works. Most standard wheels nowadays have push horns, so you’ll have to wire up the push button supplied with your wheel. Once again, failure to do so means no horn and no MOT. Most boss kits and steering wheels will come with the facility to do this (that’s what the extra rings, plugs and wires are for): some may work via a sandwich ring between the wheel and the boss, others may have to be earthed to the boss or center shaft.
With that in mind, some cars won’t let you do this at all, so you’ll need to install a separate horn button on the dash, or a ‘Fast and Furious-style NOS button’ on the wheel. Again, a little research on your particular car can go a long way here.
That’s about all there is to it though. So, take it out for a test drive, make sure the wheel is straight and check that the wheel-to-hub screws haven’t loosened off after 50 miles or so. Sorted.

