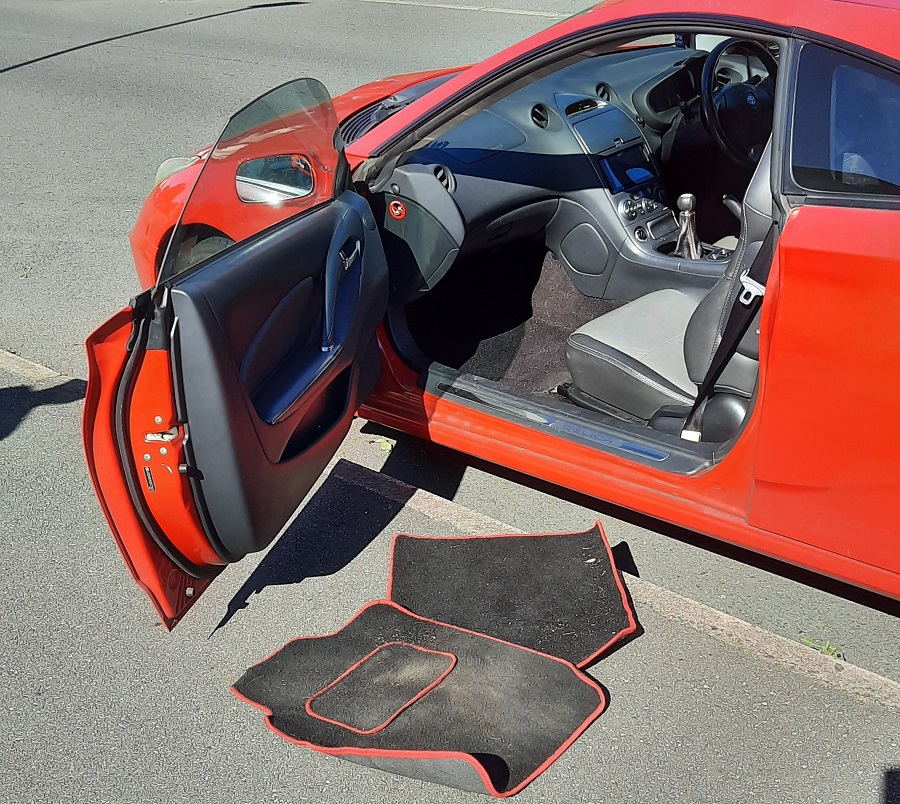
Got grubby footwells? Don’t worry, we’ve all been there. Here’s how to clean car mats simply and effectively.
Ok, look. Not all of us are car detailing enthusiasts. And as a result, sometimes we let our cars get a bit dirtier than we should. A prime example of this is the floor mats – they have to deal with all the debris and detritus from our shoes that we walk into the car every time we get into the driver’s seat. So, after a while, they fall into a sorry state.
But floor mats deserve more love than what most of us give them. So, if you want to do them justice and freshen up your cabin space, here’s how to clean car mats simply and effectively.
What items do you need to clean your car mats?
Before you eager lot get started, I’ll outline here what sort of equipment you’re gonna need to do the job. Fortunately, there’s nothing too out-there on this list.
A vacuum cleaner is a good place to start, and if you’re going the full distance, you’ll be wanting some fabric shampoo/cleaner spray and a fairly tough brush as well.
How to clean car mats
1. Shake It
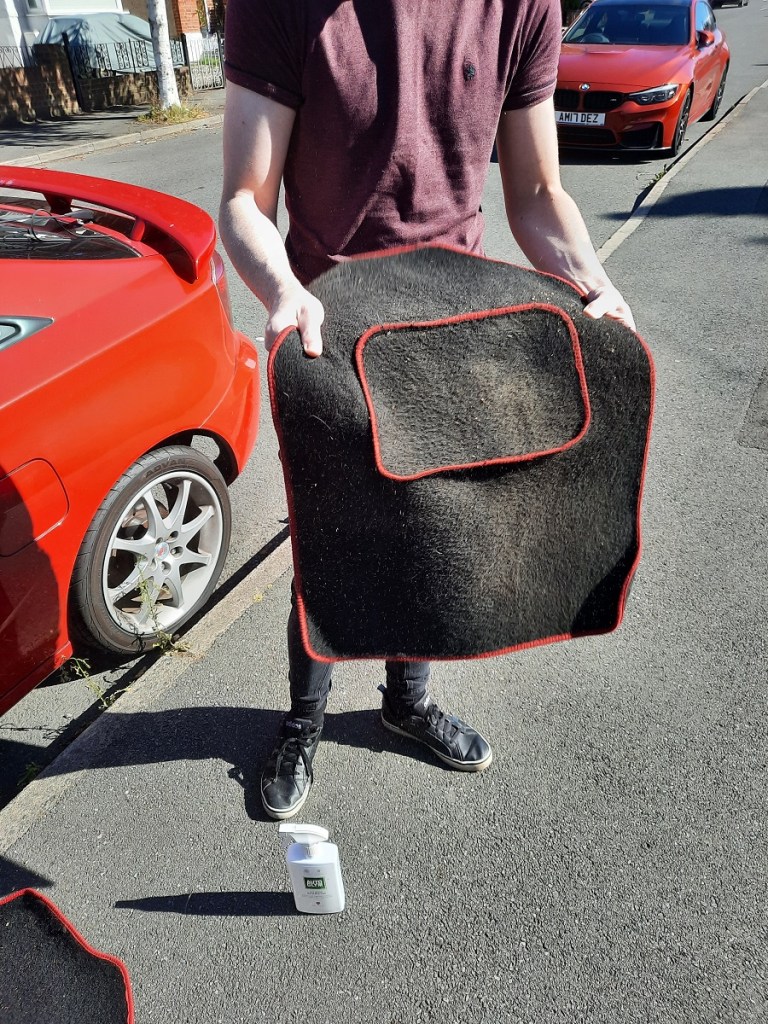
To begin, you’ll need to do your best impression of Metro Station’s one and only hit record. “A-shake shake, shake shake, a-shake it”.
Not literally though, this isn’t karaoke. Grab the floor mat and attempt to shake away any loose debris from the surface. We’d advise doing this outside of your car otherwise you’ll just get the carpet dirty or potentially hit something with your clumsy elbows. I know I would. Instead, step out and do this on the driveway or in your garden – somewhere that you aren’t bothered about small crumbs falling onto the floor.
2. Vacuum the loose stuff
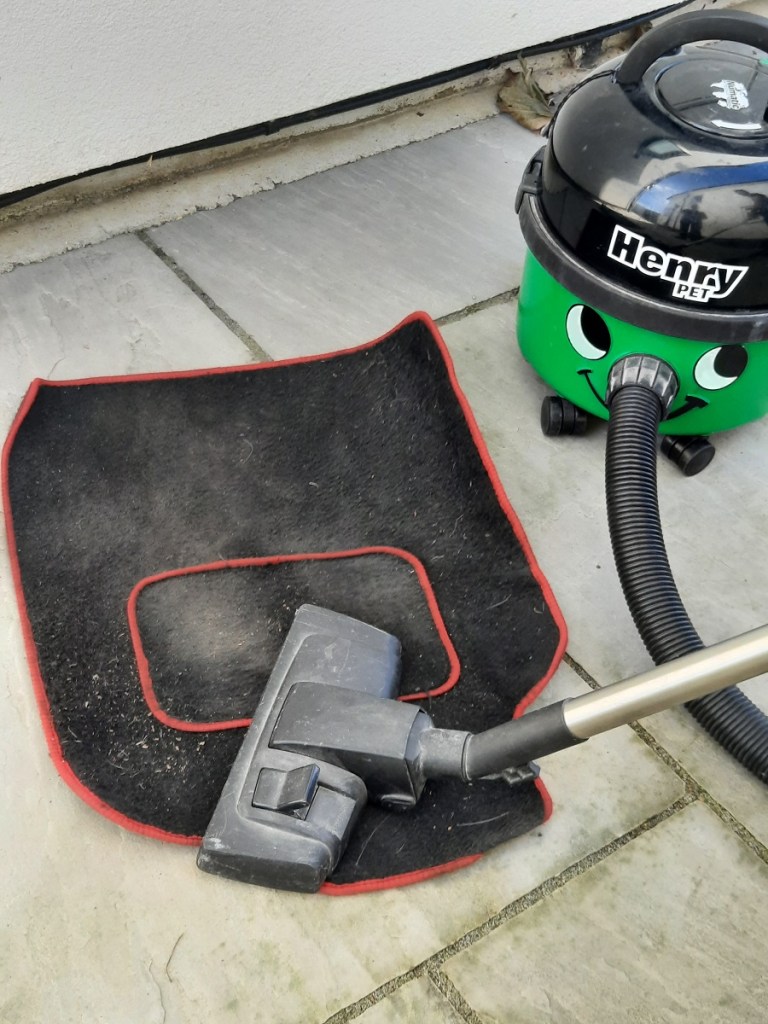
It’s quite likely that even after a thorough shake, there will still be random bits of dirt embedded in the fabric of the mat. To attack this, you’ll need a vacuum cleaner of some sort, whether it be a portable handheld one, or a full-fat home appliance. In this case, I’ve opted for a trusty Henry.
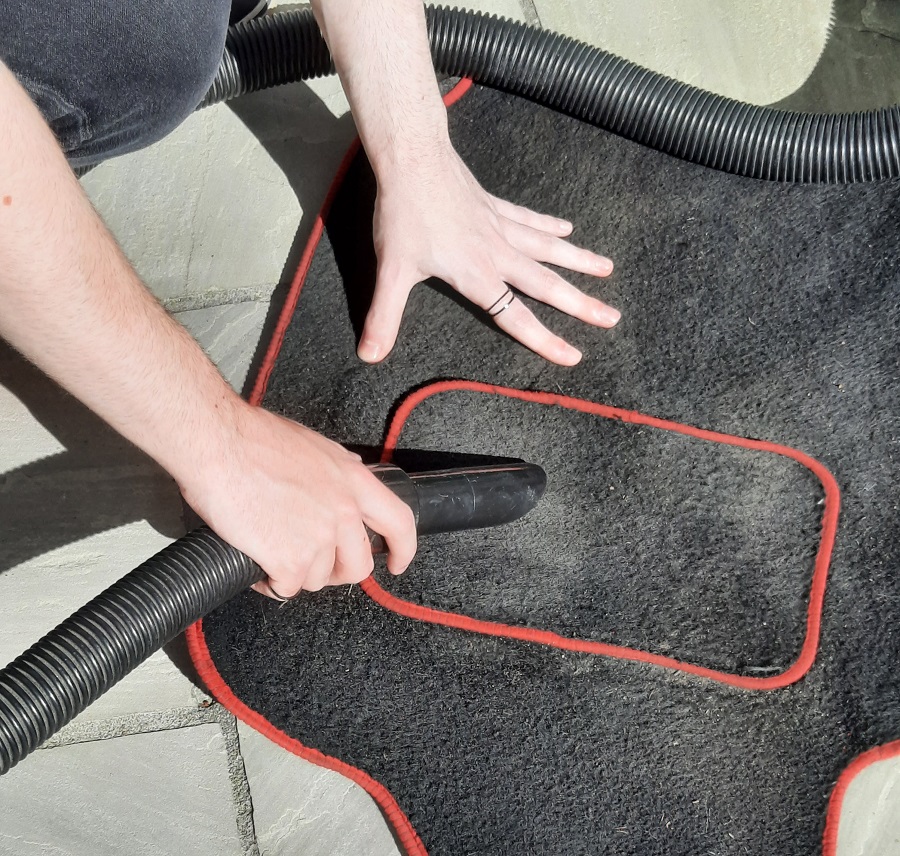
The regular head attachment wasn’t cutting it, so instead I’ve had to remove that and go more forensic in my approach. You’ll probably find that the remaining post-shake debris is quite stubborn, so expect this segment to take a good 5-10 mins if you want the best results possible.
3. Soak & Soap
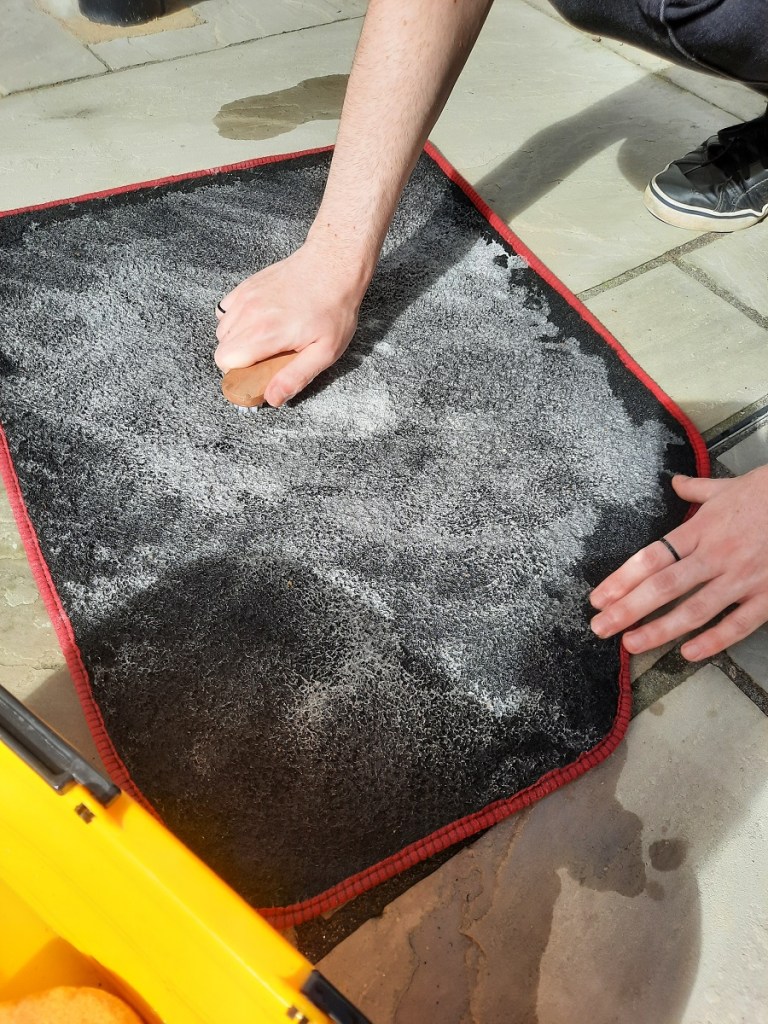
By now, hopefully the majority of the debris is gone. In which case, it’s time to focus on the finer dirt. To get rid of this you’re going to have to use some water, a cleaning agent, and a brush (ideally an upholstery nail brush or similar).
First, soak the mat in water. To do this, I filled a bucket and gently poured the water over the mat on the floor. With the mat now wet, you can go ahead and spray it with your cleaning agent. Use a car interior cleaner spray if you’ve got one, as I have done.
Next, take your brush and get scrubbing!
4. Rinse & Dry
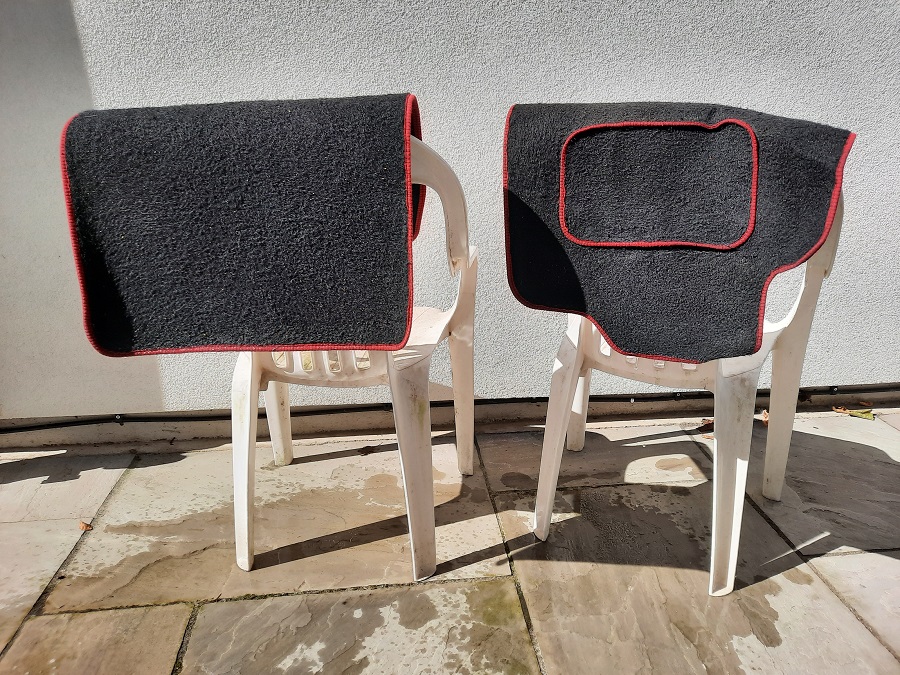
Once you’ve repeated this process for both mats, rinse away the soap with another bucket of water. With that sorted, you’ll then need to dry your mats before placing them back inside your car. If you’ve got a washing line, that would be perfect for the job, but in this case I’ve hung mine over some garden chairs somewhere sunny.
Now, it’s a waiting game. Once they’re dry, you can happily put them back inside your car, giving the cabin a much fresher feel. Job done!

