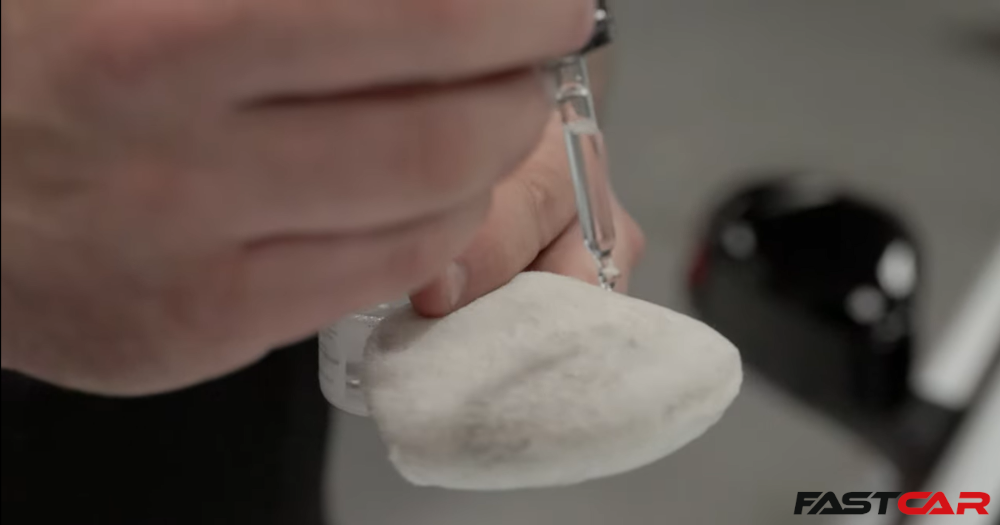
We’ve shown you the various benefits a quality ceramic coating offers, so now it’s time to show you how to apply a ceramic coating to your car. It may sound daunting, but it’s actually incredibly easy. Any enthusiast can apply a ceramic coating at home and get excellent results. Here’s how…
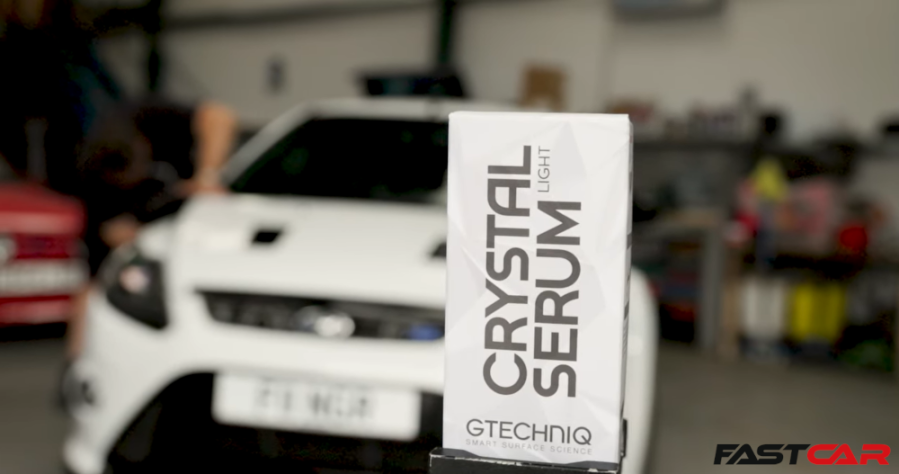
Our how-to guide will walk you through every step in applying Gtechniq Crystal Serum Light and EXO V5 at home, giving you that professional finish from the comfort of your own home. Let’s dive right in!
Why Ceramic Coating over Wax?
First things first, why should you be trading your wax for a ceramic coating? The answer is longevity and protection! Ceramic coatings provide superior protection against UV rays, chemicals, bird droppings and other surface contaminants.They last far longer than traditional waxes – we’re talking years, not months!
Don’t believe us? We put Gtechniq Crystal Serum Light to the test. Read here!
Step-by-Step Guide to Apply Ceramic Coating
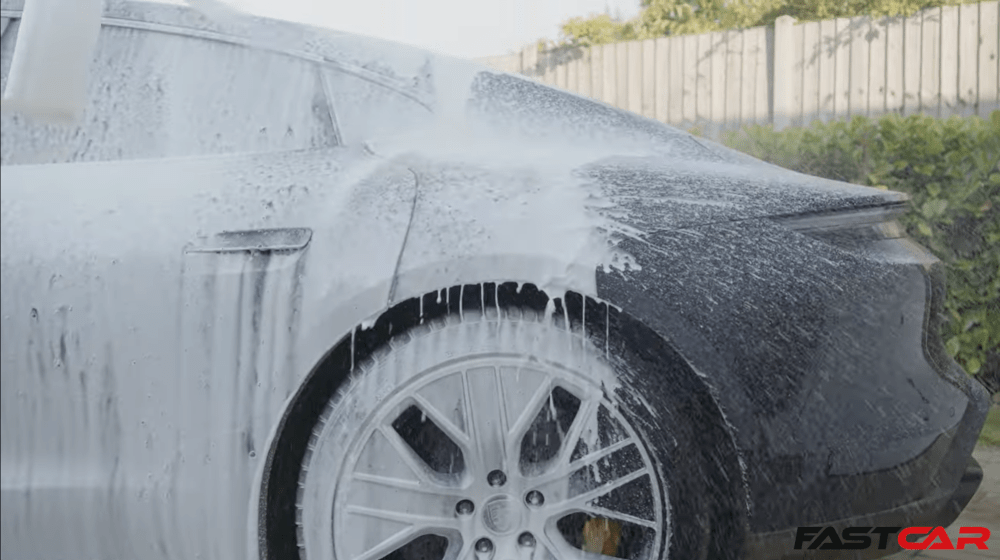
1. Full Decontamination Wash
Before anything else, your car needs to be squeaky clean. Start with a full decontamination wash to remove any dirt, grime, or residues. This step ensures that nothing gets in the way of that perfect finish.
Pro Tip: Wash your car a day earlier and let it dry completely overnight to avoid water trails when you’re applying the coating.
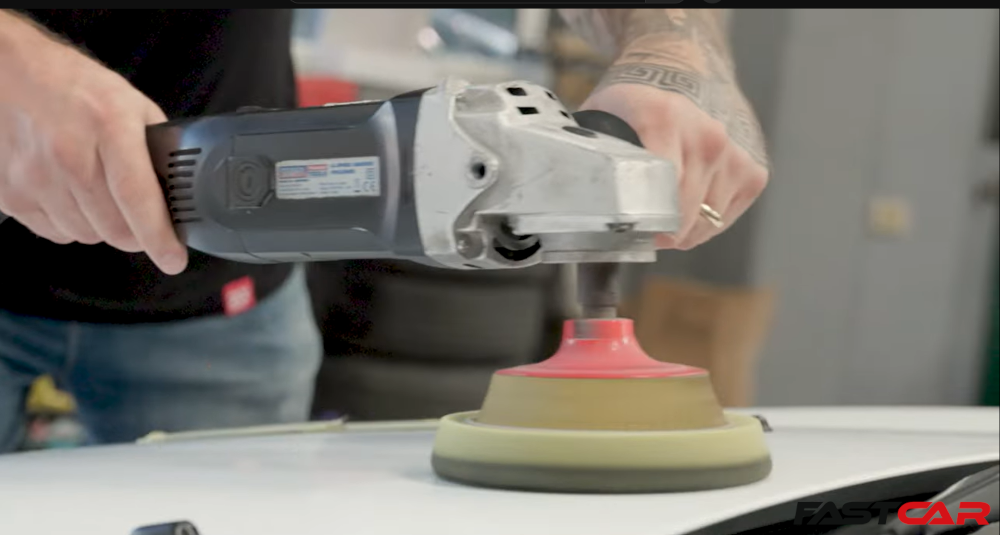
2. Machine Polish
With a clean car, it’s time to buff out those imperfections. Machine polishing removes scratches, swirl marks, and other blemishes. This step is crucial because the ceramic coating can accentuate any surface flaws present, so you need teh surface to be flawless before locking in that finish.
Don’t fret if this sounds tedious; consider outsourcing the polish job to professionals while you handle the more fun stuff – like applying the coating!
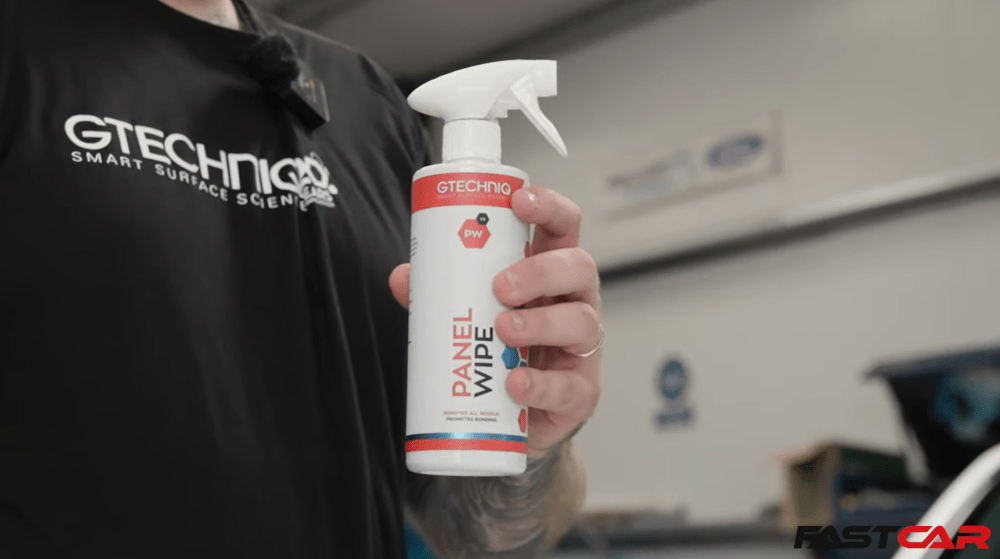
3. Panel Wipe
Next up is prepping the surface with a panel wipe. This gets rid of any oils or residues left from polishing, giving you a clean surface for the ceramic coating.
Spray on the panel wipe solution and buff off with a clean microfiber cloth. Easy peasy!
4. Applying the Ceramic Coating
Here’s where the magic happens:
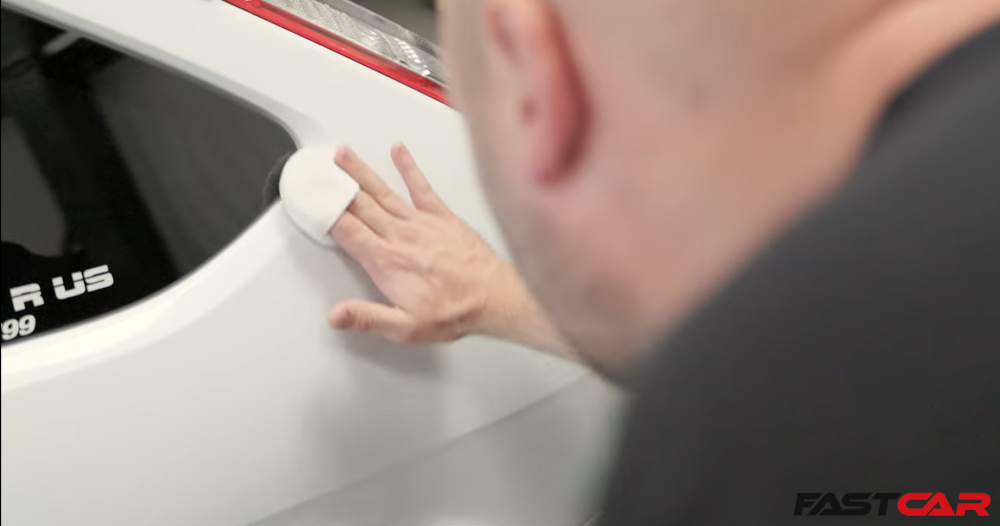
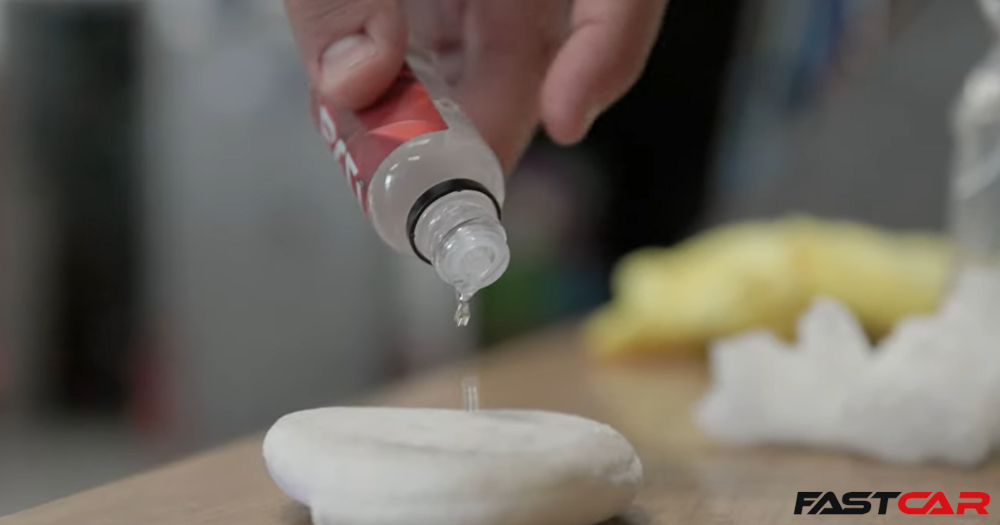
- Get your nice applicator pad ready, place a few drops of Crystal Serum Light on it.
- Work in small sections. On a bonnet, split it up – for example, start with just one quarter.
- Apply in straight lines, then cross-hatch (apply lines perpendicular) to ensure even coverage across the panel.
- After a few minutes, you’ll notice the product begins to split out on the surface – this is your cue to gently buff it off with a clean microfiber cloth.
5. Applying EXO V5
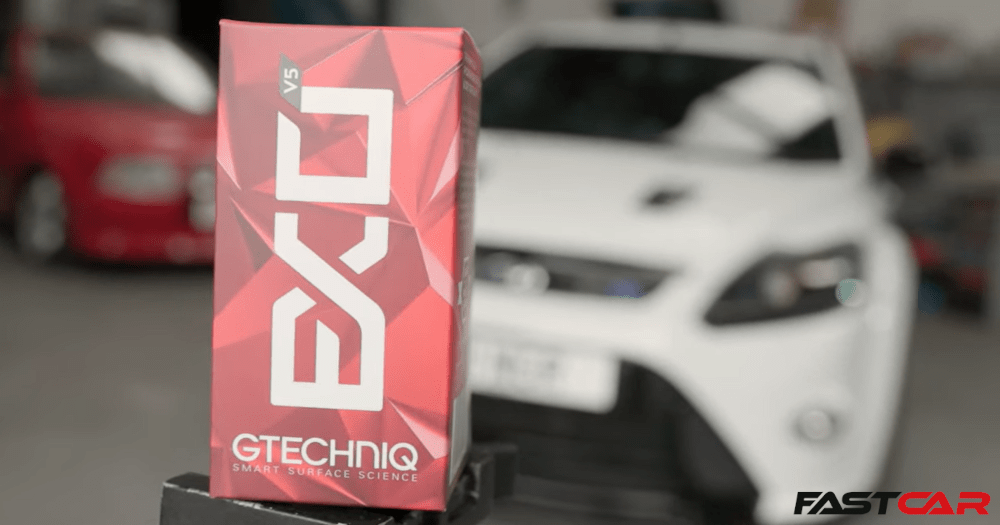
EXO V5 acts as a hydrophobic topper for that next-level finish. Gtechniq explain why a two-coating system is better than one, check it out for some nerdy science behind the chemistry involved!
- Wait at least 1-2 hours after applying Crystal Serum Light.
- Using a clean fresh applicator pad again, apply EXO V5 in straight lines over the working area and let it split-out before buffing off with a clean microfiber cloth.
Note: If you have previously applied Cyrstal serum Light, then panel wipe the car to ensure surface is free from any contaminants (not neccessary if apllying EXO V5 on the same day). If you applied Crystal Serum Light a few days/weeks before applying EXO V5, give the car a full decontamination wash and then panel wipe before application.

Dos and Don’ts Once Applied
Dos:
- Leave your car out of rain for the first 12 hours.
- Let it cure without touching detergents for the first week.
- Use quality cleaning products and practices to maintain best results
Don’ts:
- Skimp on drying time.
- Wash your car for the first week.
- Neglect your regular cleaning routine
Can I apply a ceramic coating at home?
Applying a ceramic coating at home is not just doable; it’s unbeliveably satisfying when you step back and admire that flawless finish. With Crystal Serum Light and EXO V5, you’re giving your car the ultimate protective layer that looks incredible and lasts much longer than those traditional waxes.
Go on, give your car the ultimate protection it deserves.


